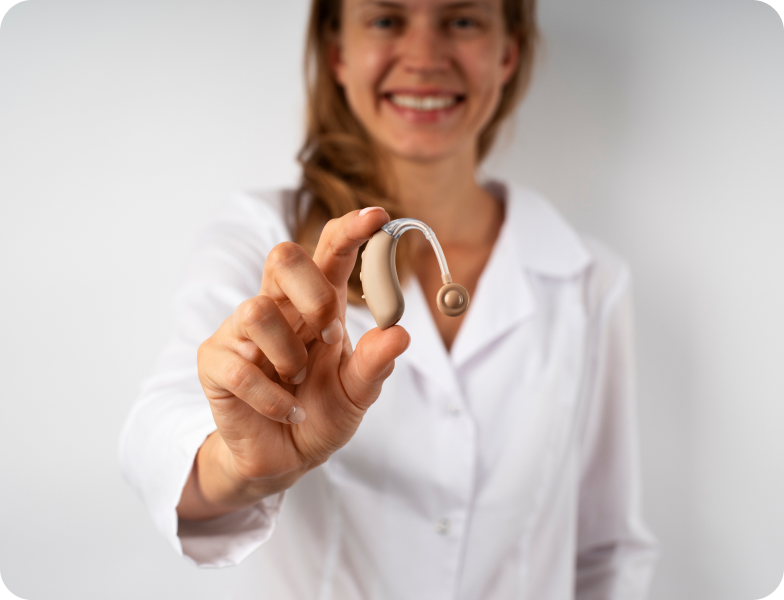
How to Maintain Your EarRite Hearing Aids: A Full Guide
Share
Maintaining your EarRite hearing aids is essential for ensuring optimal performance and longevity. With proper care, you can maintain the quality of your hearing aids and enjoy clear sound every day. Here's a step-by-step guide on how to take care of your EarRite hearing aids, focusing on replacing the wax guard, one of the critical maintenance tasks.
Replacing the Wax Guard: A Step-by-Step Guide
The wax guard is a small but crucial part of your hearing aids, preventing earwax and debris from entering the device. Over time, the wax guard can become clogged, which can diminish the sound quality of your hearing aids. Here's how to replace it:
The wax guard is a small but crucial part of your hearing aids, preventing earwax and debris from entering the device. Over time, the wax guard can become clogged, which can diminish the sound quality of your hearing aids. Here's how to replace it:
-
Prepare the Replacement: Begin by opening the wax guard package and selecting a new wax guard tool. This tool is specifically designed for safe and efficient wax guard replacement.
-
Remove the Old Wax Guard: Use the removal end of the cleaning brush tool, which comes with your EarRite hearing aids. Carefully insert it into the used wax guard. With a gentle force, pull out the old wax guard. Ensure that you do not apply too much force to avoid damaging your hearing aids.
-
Insert the New Wax Guard: After removing the old wax guard, take the new one using the same tool and insert it into the designated slot on your hearing aid. Make sure it fits securely and is flush with the surface of the hearing aid.
-
Dispose of the Old Wax Guard: Once you have successfully replaced the wax guard, dispose of the old one properly. Do not attempt to clean and reuse old wax guards as this can lead to infections or damage to your hearing aids.
Maintaining your EarRite hearing aids is crucial for their performance and durability. By following these simple steps to replace the wax guard, you can ensure that your hearing aids continue to provide clear and uninterrupted sound. Remember, if you encounter any issues or have questions about maintenance, EarRite's customer service is always ready to assist. Keep your hearing aids in top condition and enjoy the clear sound they provide.
